Now that we have set up our project, let’s create a prototype for Pizza Run. If you haven’t been following along with my previous posts, you can read its overview here. Note that I am working on iOS, so instructions may vary for Windows.
Now, the prototype won’t really be a prototype, per se. I won’t be doing any programming in this step. Think of it as installing the gears, but they’re not turning, yet. I will just be setting up the main entities in their simplest forms.
The Straightforward Steps
Now the following steps are too simple to screenshot, so I’ll just list them here.
- Rename “SampleScene” to “MainScene” and reload the project.
- Create “Images” folder under “Assets” folder.
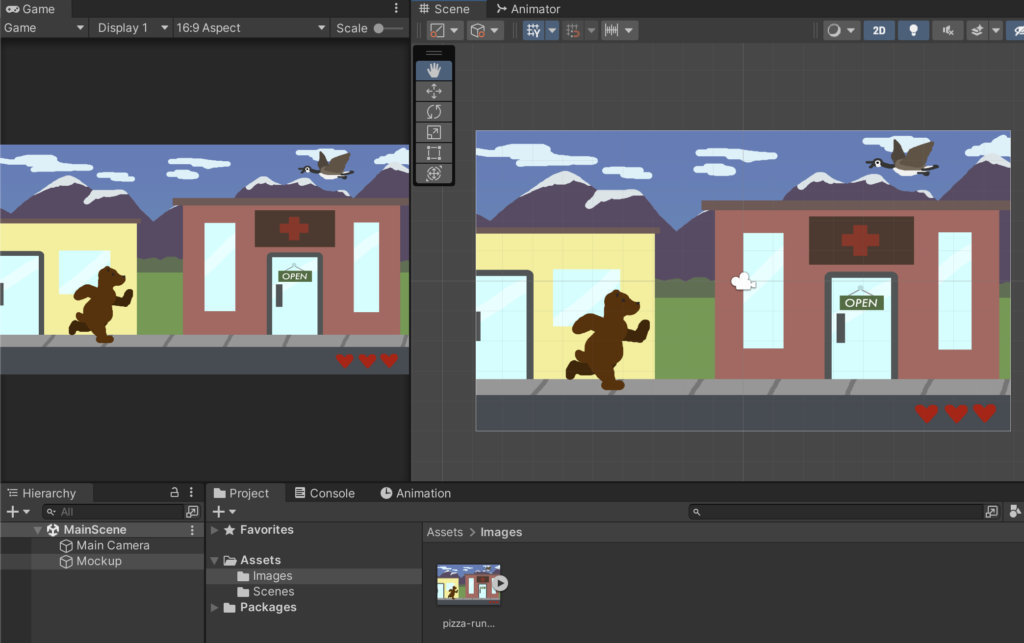
- Move PNG file of the mockup into the “Images” folder.
- Resize the mockup to fit the camera. (Note: Next time, create a mockup of the same dimensions of the intended game!)
The Curvier Steps
Ok, here’s the part I will detail more. It’s still pretty simple itself, but maybe needs a little more explaining.
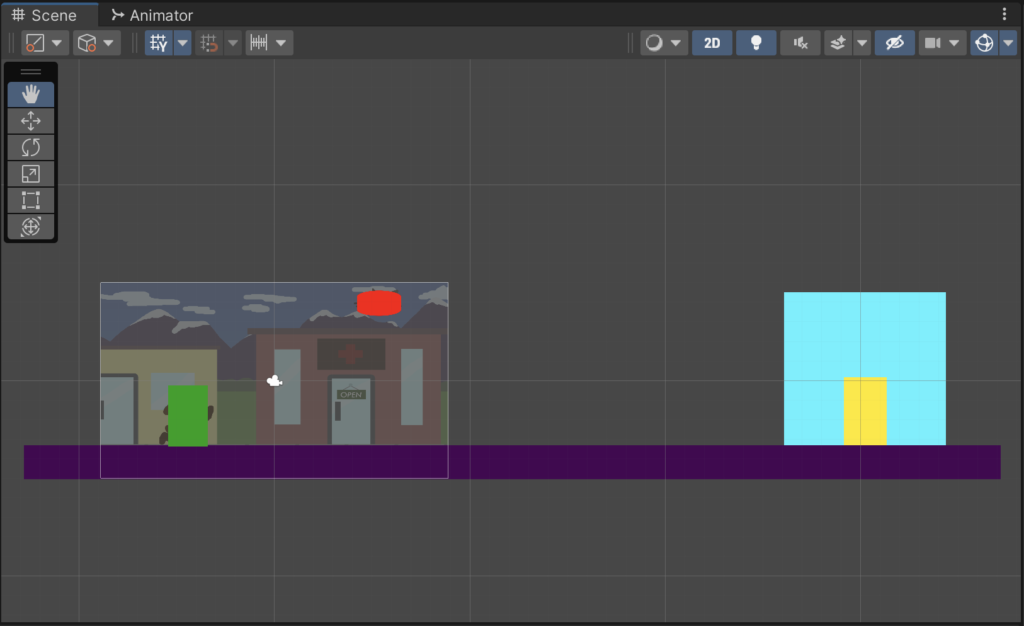
I will be representing the main elements of the game with some basic Unity-provided shapes. After changing the alpha on the mockup to make it more transparent, I placed some figures to represent the main objects:
- The player
- The enemy
- The ground
- The pizza shop
- The pizza shop door (which needs to be interacted with)
I’ve extended the prototype objects past the camera as the camera will be coded to move as your character moves.
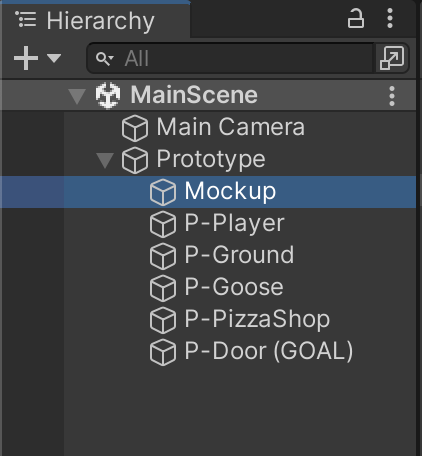
This is how I’ve organized my game hierarchy for now.
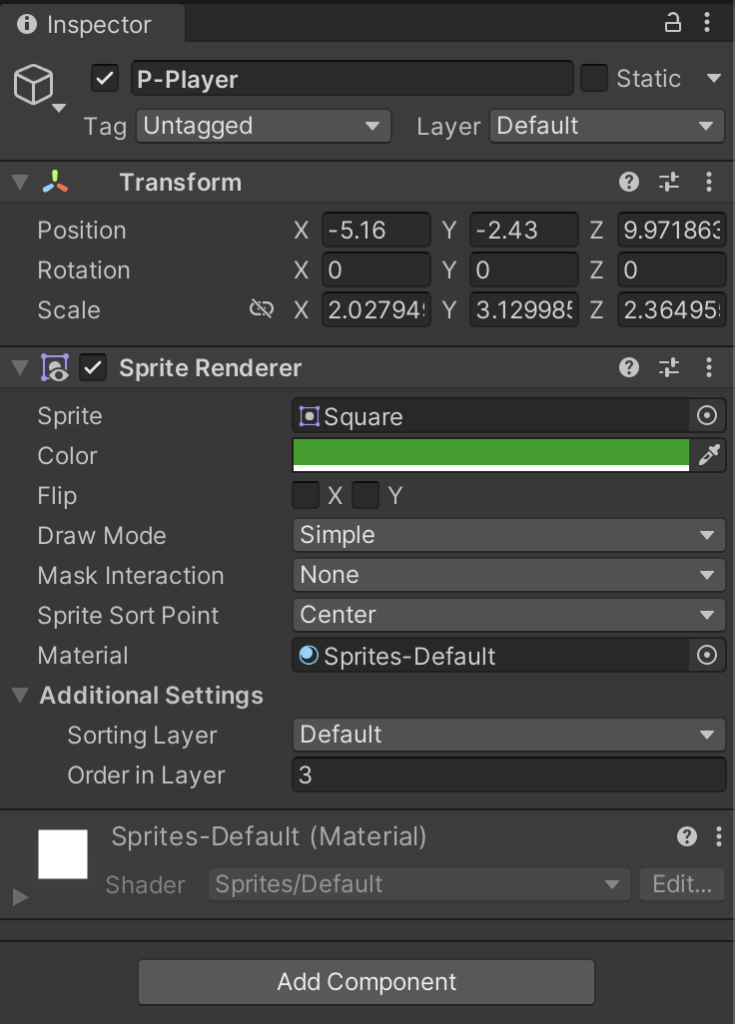
Quick tip: If the layering is askew, you can adjust the “Order in Layer” under the Sprite Renderer component.
And that’s it for now! Simple enough, eh?
Next Steps
In my next post, I will be showing you how I create the MVP. We’re finally going to make the gears turn!